Mastering Flush Setting: A Comprehensive Guide
In the world of jewelry design, flush setting is a technique that can add sophistication and brilliance to any piece. Whether you are new to jewelry making or an experienced professional, understanding and mastering flush setting is essential. This comprehensive guide will take you through the basics of flush setting, the tools required, a step-by-step guide, common mistakes to avoid, and tips for maintaining your flush setting jewelry.
Understanding the Basics of Flush Setting
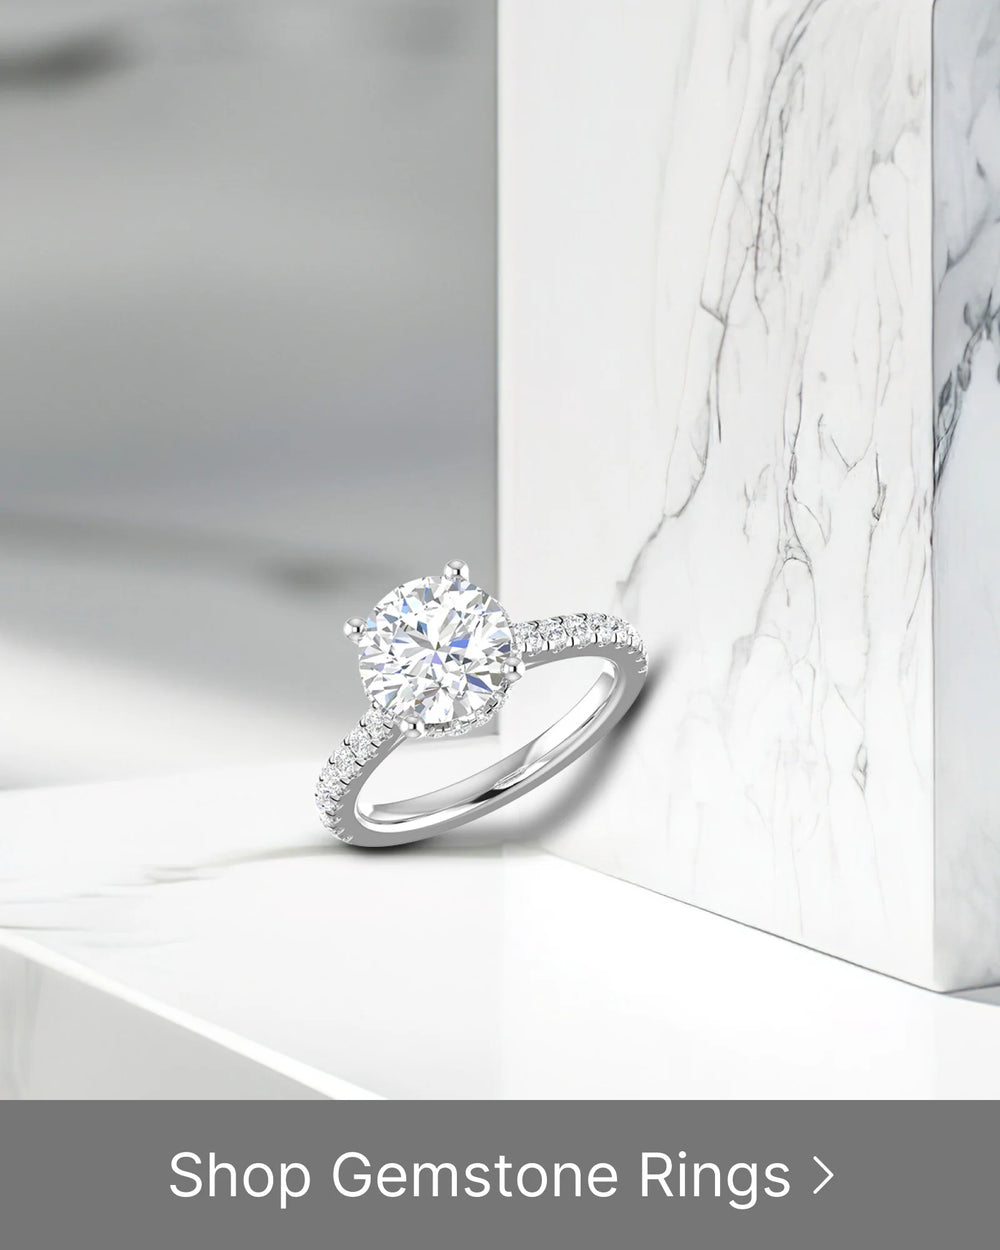
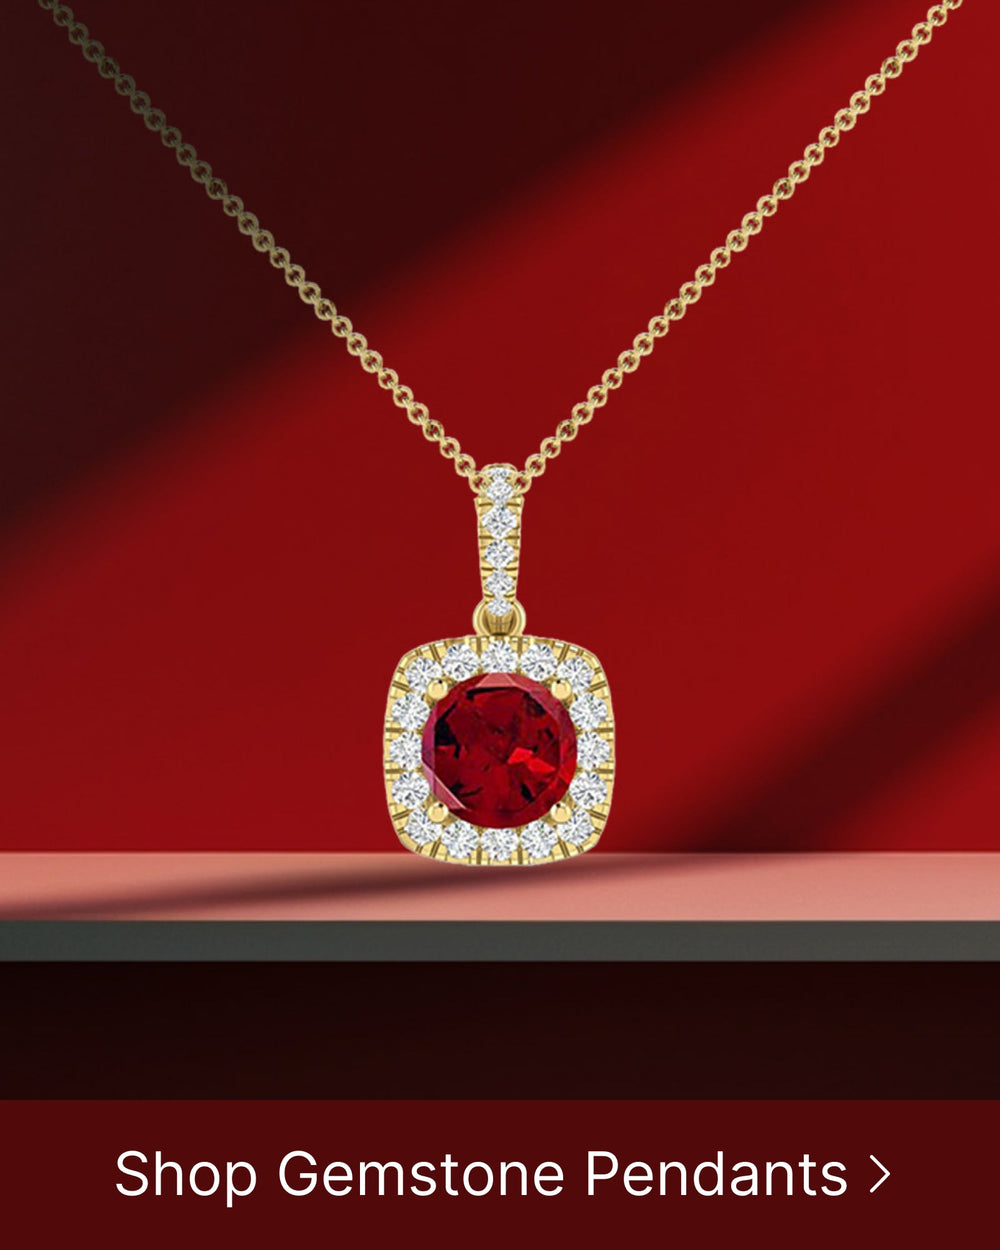
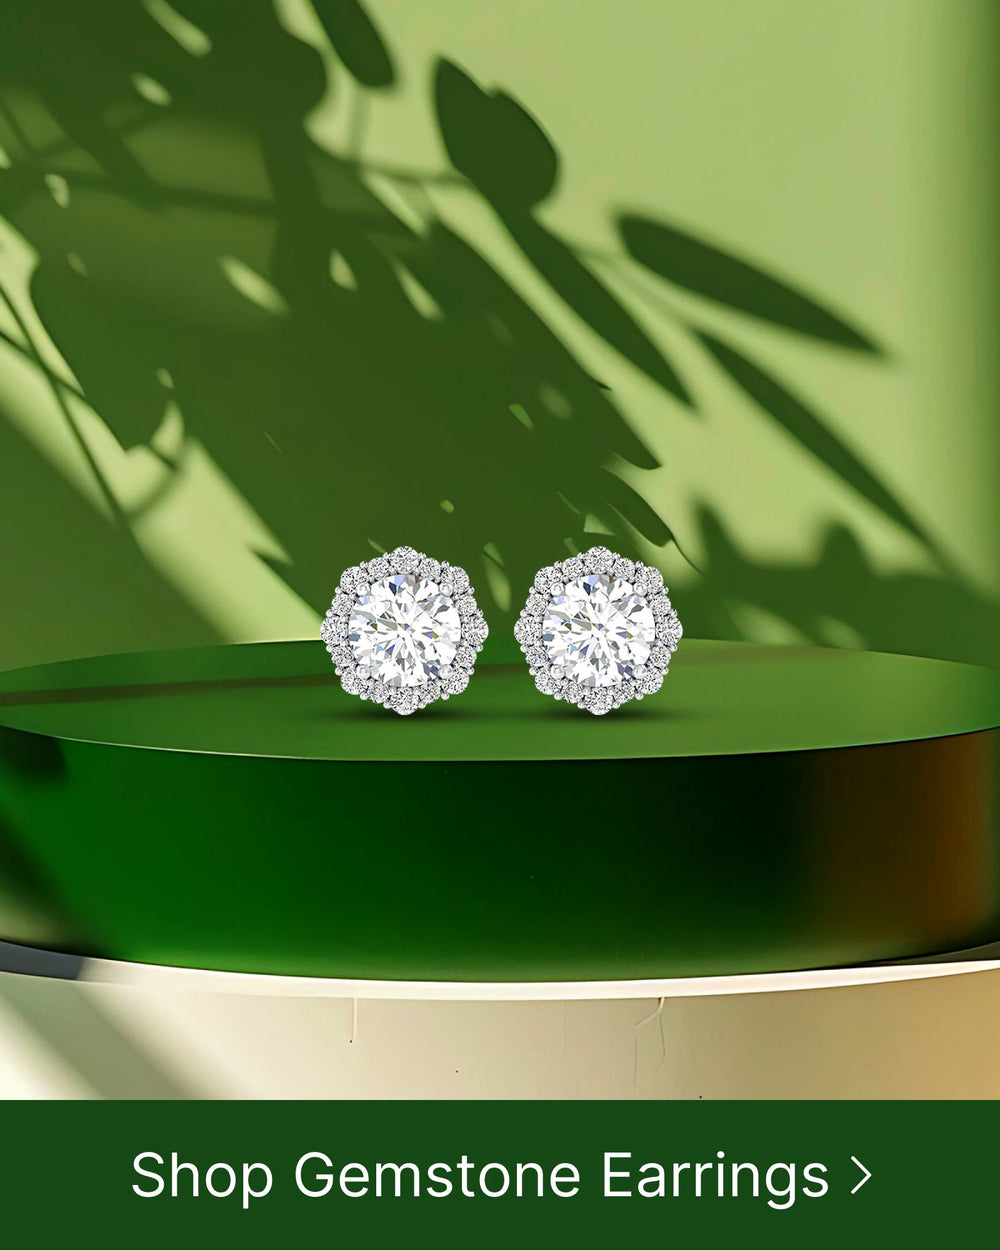
Flush setting is a technique used to securely set gemstones into a metal surface, creating a sleek and seamless look. By embedding the gemstone into the metal, the setting achieves a level surface without any prongs or claws. This technique is often used for earrings, rings, and pendants to highlight the beauty of the gemstone while providing a modern and elegant design.
The importance of flush setting in jewelry design cannot be overstated. It not only enhances the overall appearance of the piece but also ensures the gemstone is securely held in place. This eliminates the risk of the gemstone coming loose or falling out, providing peace of mind to the wearer.
When it comes to flush setting, precision is key. The jeweler carefully measures the gemstone and creates a hole in the metal that perfectly matches its size and shape. This requires great skill and attention to detail, as even the slightest miscalculation can result in a flawed setting.
Once the hole is created, the gemstone is placed inside and secured using a technique called burnishing. Burnishing involves using a specialized tool to push the metal around the gemstone, effectively holding it in place. This process requires patience and a steady hand, as too much force can damage the gemstone or the metal.
One of the advantages of flush setting is its versatility. It can be used with a variety of gemstones, including diamonds, sapphires, rubies, and even semi-precious stones. The choice of gemstone depends on the desired look and the personal preference of the wearer.
In addition to its aesthetic appeal, flush setting also offers practical benefits. Since the gemstone is set flush with the metal, there are no prongs or claws to catch on clothing or other objects. This makes flush-set jewelry a popular choice for everyday wear, as it is less likely to get snagged or damaged.
Furthermore, flush setting allows for easy cleaning and maintenance. Unlike settings with prongs or claws, there are no crevices or tight spaces where dirt and debris can accumulate. A simple wipe with a soft cloth is usually enough to keep the jewelry looking its best.
Flush setting can be seen in various styles of jewelry, from minimalist designs to more intricate and elaborate pieces. It offers a contemporary and sophisticated look that appeals to both men and women. Whether it's a pair of flush-set diamond earrings or a flush-set sapphire ring, this technique adds a touch of elegance to any jewelry collection.
In conclusion, flush setting is a technique that not only enhances the beauty of gemstone jewelry but also provides a secure and durable setting. Its precision and versatility make it a popular choice among jewelry designers and wearers alike. So, the next time you admire a piece of flush-set jewelry, you can appreciate the craftsmanship and attention to detail that went into creating it.
Tools Required for Flush Setting
Before you embark on your flush setting journey, it is crucial to have the right tools for the job. For beginners, the essential equipment includes:
- A jeweler's saw
- A bench pin
- A burnisher
- A mallet
- A setting bur
- A flex shaft or pendant motor
Let's dive deeper into each of these tools and understand their importance in the flush setting process.
1. Jeweler's Saw: This tool is a must-have for any jewelry maker. It allows you to make precise cuts on metal, enabling you to create the perfect seat for your gemstone.
2. Bench Pin: The bench pin is a small wooden or metal platform that attaches to your workbench. It serves as a support for your jewelry piece, providing stability and control while you work.
3. Burnisher: A burnisher is a tool with a smooth, polished metal tip. It is used to push and smooth the metal around the gemstone, ensuring a tight and secure fit.
4. Mallet: A mallet is a hammer-like tool with a rubber or wooden head. It is used to gently tap the metal and set the gemstone in place without causing any damage.
5. Setting Bur: A setting bur is a specialized drill bit that creates a seat for the gemstone. It is available in various sizes to accommodate different stone sizes and shapes.
6. Flex Shaft or Pendant Motor: These tools are used to power the setting bur and allow for precise control and maneuverability. They provide the necessary speed and torque to create clean and accurate cuts.
For professionals or those looking to expand their tool collection, advanced tools such as a micro-motor and microscope can provide even greater precision and control during the flush setting process.
Micro-Motor: A micro-motor is a compact and lightweight rotary tool that offers high-speed rotation and exceptional control. It is ideal for intricate and detailed work, making it a valuable tool for professional jewelers.
Microscope: A microscope is an essential tool for those seeking the utmost precision in their flush setting work. It allows jewelers to magnify the work area, enabling them to see even the tiniest details and make precise adjustments.
Having the right tools is essential for achieving excellent results in flush setting. Whether you are a beginner or a professional, investing in quality tools will make your jewelry-making journey more enjoyable and rewarding.
Step-by-Step Guide to Flush Setting
Now that you have the necessary tools, let's dive into the step-by-step process of flush setting:
1. Preparing the Gemstone and Metal
The first step is to select a gemstone and the metal in which it will be set. When choosing a gemstone, consider its size, shape, and color to ensure it complements the metal and the overall design of your piece. It's important to ensure that the metal is thick enough to securely hold the gemstone. You can choose from various metals such as gold, silver, platinum, or even stainless steel, depending on your preference and budget.
Once you have chosen your materials, clean them thoroughly to remove any dirt or debris that may interfere with the setting process. Use a gentle jewelry cleaner or a mixture of mild soap and warm water to clean both the gemstone and the metal. Gently scrub them with a soft brush to remove any stubborn dirt or grime. Rinse them thoroughly and pat them dry with a clean, lint-free cloth.
2. The Process of Flush Setting
After preparing the gemstone and metal, it's time to begin the flush setting process:
- Mark the spot where the gemstone will be set on the metal. Use a fine-tip marker or a scribe to make a small, precise mark. Take your time to ensure the mark is accurate and aligned with your design.
- Drill a hole using a setting bur, ensuring it is slightly smaller than the gemstone. The size of the hole should be carefully calculated to ensure a snug fit for the gemstone. Use a jewelry drill or a flex shaft with a bur attachment to create the hole. Start with a smaller bur and gradually increase the size until it matches the dimensions of the gemstone.
- Place the gemstone into the hole, ensuring it sits securely. Gently press it down to check if it fits snugly. If the gemstone feels loose, you may need to adjust the size of the hole or consider using a different gemstone. It's crucial to achieve a tight fit to prevent the gemstone from falling out or becoming loose over time.
- Using a burnisher, carefully push the metal around the gemstone, securing it in place. A burnisher is a specialized tool with a smooth, rounded tip that allows you to push the metal without scratching or damaging it. Apply gentle pressure and work your way around the gemstone, gradually pushing the metal towards the center. Take your time and ensure the metal is evenly pushed to create a seamless and secure setting.
- Repeat this process for each gemstone, ensuring they are evenly spaced. Depending on your design, you may be setting multiple gemstones in a row or in a specific pattern. Take precise measurements and follow the same steps for each gemstone to maintain consistency throughout your piece.
3. Finishing and Polishing
Once all the gemstones are securely set, it's time to give your piece the finishing touches. Use a jewelry file or sandpaper to carefully file away any excess metal around the gemstones. Take your time and work slowly to avoid accidentally scratching the gemstones or altering their shape. Pay attention to the details and ensure the metal is smooth and flush with the gemstones.
After filing, it's time to polish the surface for a smooth and flawless finish. Use a jewelry polishing cloth or a buffing wheel attached to a rotary tool to gently polish the metal. Move the cloth or the wheel in small, circular motions to remove any scratches or imperfections. Pay extra attention to the areas around the gemstones to ensure they are polished to perfection.
Take your time during this step to ensure the final result is pristine. Inspect the piece from different angles and under different lighting conditions to ensure there are no visible flaws or irregularities. If necessary, repeat the filing and polishing process until you are satisfied with the overall appearance of your flush set piece.
Common Mistakes and How to Avoid Them
Even the most experienced jewelers can encounter challenges when flush setting. Here are some common mistakes and tips to avoid them:
Troubleshooting Flush Setting Issues
If you find that your gemstones are not sitting evenly or securely, check that your holes are drilled to the correct size. Additionally, ensure that you are using the appropriate amount of pressure when setting the gemstones to avoid any damage to the metal.
Tips for Perfect Flush Setting
To achieve a flawless flush setting, consider the following tips:
- Practice on scrap metal before working on your final piece.
- Take breaks during the process to maintain focus and precision.
- Work in a well-lit area to see the details clearly.
- Use a magnifying tool, such as a loupe, for intricate settings.
Maintaining Your Flush Setting Jewelry
Caring for your flush setting jewelry is important to ensure its longevity and retain its stunning appearance. Follow these cleaning and care tips:
Cleaning and Care Tips
Regularly clean your flush setting jewelry using a soft brush and mild soap. Avoid using harsh chemicals or abrasive materials, as they may damage the metal or gemstones. Store your jewelry in a separate compartment or jewelry pouch to prevent scratching or tangling with other pieces.
Regular Maintenance for Longevity
For long-term maintenance, periodically check the setting to ensure the gemstones are still securely in place. If any adjustments or repairs are needed, consult a professional jeweler to avoid damaging the piece.
Mastering flush setting may take time and practice, but with the right tools, knowledge, and patience, you can achieve stunning results. Whether you are a beginner or an experienced jeweler, this comprehensive guide has provided you with the necessary insights to create beautiful and secure flush setting jewelry. So go forth and let your creativity shine!


