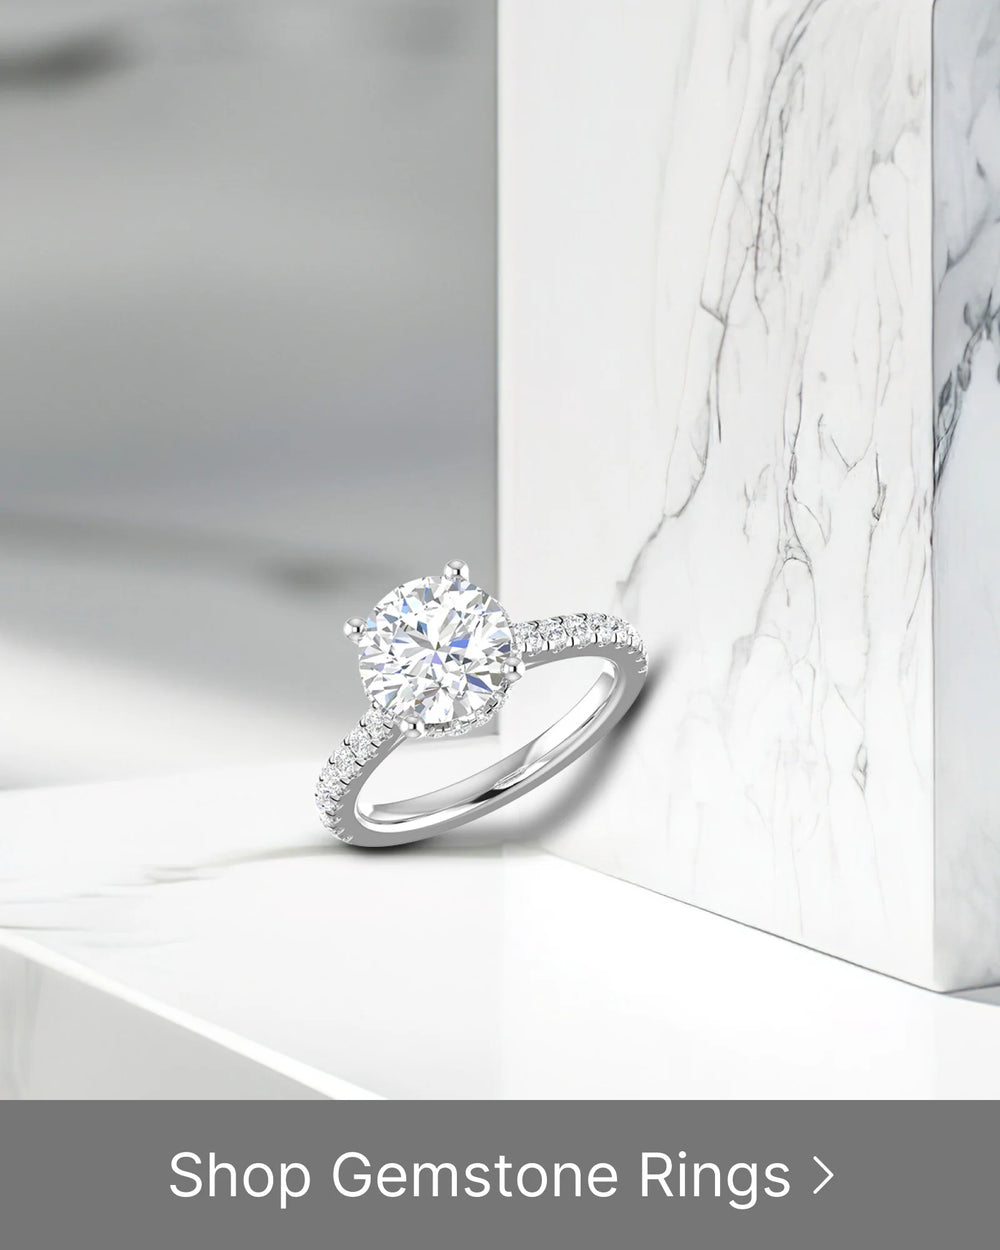
When it comes to buying a diamond, understanding its clarity is essential. The clarity of a diamond refers to the presence of inclusions and blemishes, which can affect its appearance and value. In this comprehensive guide, we will explore the different aspects of diamond clarity and how to interpret them using the best diamond clarity chart.
Understanding Diamond Clarity
The Basics of Diamond Clarity
Diamond clarity is determined by the presence and visibility of inclusions and blemishes, which are also known as internal and external characteristics. These characteristics are unique to each diamond and are the result of natural processes that occur during its formation.
An inclusion refers to any internal characteristic within a diamond, such as tiny crystals, clouds, or feathers. These inclusions are like nature's fingerprints, providing a distinct identity to each diamond. They are formed when the diamond is subjected to immense heat and pressure deep within the Earth's mantle. Over millions of years, these inclusions become trapped within the diamond's structure, creating unique patterns and formations that can be observed under magnification.
On the other hand, a blemish refers to any external characteristic, such as scratches or chips on the diamond's surface. These blemishes can occur during the diamond's journey from the Earth's mantle to the surface, as it encounters various geological processes and interactions with other minerals. While inclusions are formed internally, blemishes are typically the result of external forces acting on the diamond.
The Importance of Clarity in Diamond Selection
Clarity is one of the four Cs of diamond grading, alongside color, cut, and carat weight. It plays a crucial role in determining the overall quality and value of a diamond. A diamond with higher clarity will have fewer and less visible inclusions and blemishes, making it more desirable and valuable.
When selecting a diamond, clarity is an important consideration as it directly affects the diamond's appearance and brilliance. Diamonds with higher clarity grades are more likely to have better light performance, as the absence of significant inclusions and blemishes allows light to pass through the diamond more freely, resulting in enhanced sparkle and brilliance.
Furthermore, diamonds with higher clarity grades are also rarer and more sought after. The process of mining and cutting diamonds is a meticulous one, and diamonds with exceptional clarity are highly prized for their rarity and beauty. As a result, diamonds with higher clarity grades often command higher prices in the market.
It is worth noting that diamond clarity is assessed under 10x magnification, which allows gemologists to accurately evaluate the presence and visibility of inclusions and blemishes. This level of scrutiny ensures that the clarity grade assigned to a diamond is an accurate representation of its internal and external characteristics.
Ultimately, the choice of diamond clarity is a personal one, as different individuals may have varying preferences and priorities. Some may prioritize a diamond with flawless clarity, while others may find a diamond with slight inclusions more unique and appealing. Understanding the basics of diamond clarity and its significance in diamond selection empowers individuals to make informed decisions when choosing their perfect diamond.
Components of a Diamond Clarity Chart
A diamond clarity chart provides a visual representation of different clarity grades. It allows jewelers and consumers to assess the quality and value of a diamond based on its clarity characteristics. One of the most commonly used grading scales is the one developed by the Gemological Institute of America (GIA).
The GIA clarity chart ranges from Internally Flawless (IF), where no inclusions or blemishes are visible under 10x magnification, to Included (I), where inclusions and blemishes are visible to the naked eye. This comprehensive scale provides a clear and standardized way to categorize diamonds based on their clarity.
However, it's important to note that other grading scales exist, such as the one used by the American Gem Society (AGS). While these scales may have slightly different categories, they serve the same purpose of evaluating a diamond's clarity. Familiarizing oneself with these grading scales is crucial for accurately assessing a diamond's clarity using a diamond clarity chart.
Grading Scales on a Clarity Chart
The GIA clarity chart, with its range of grades, offers a detailed breakdown of a diamond's clarity characteristics. Each grade represents a specific level of clarity, allowing for precise evaluation. For instance, the Internally Flawless (IF) grade indicates that the diamond is free from any internal inclusions or external blemishes visible under 10x magnification. This level of clarity is exceptionally rare and highly sought after.
On the other end of the spectrum, the Included (I) grade signifies that the diamond has visible inclusions and blemishes to the naked eye. While these diamonds may have visible imperfections, they can still possess unique beauty and charm.
Between these two extremes, the GIA clarity chart includes grades such as Very Very Slightly Included (VVS), Very Slightly Included (VS), and Slightly Included (SI). Each grade represents a different level of clarity, with specific guidelines on the type, size, and location of inclusions and blemishes that are permissible.
It's worth noting that the AGS clarity chart may have its own set of categories, but the underlying principle remains the same. These charts aim to provide a comprehensive framework for evaluating a diamond's clarity, allowing consumers to make informed decisions when purchasing diamonds.
Interpreting Inclusions and Blemishes
Understanding the guidelines for inclusions and blemishes associated with each clarity grade is essential for accurately interpreting the information provided by a diamond clarity chart.
For example, let's consider the Slightly Included 1 (SI1) grade on the GIA clarity chart. This grade indicates that the diamond has inclusions that are visible under 10x magnification but not to the naked eye. These inclusions may include small crystals, feathers, or clouds that are not immediately noticeable without magnification. While they may affect the diamond's clarity, they don't significantly impact its overall beauty.
In contrast, the Included 1 (I1) grade represents diamonds with inclusions that are visible to the naked eye. These inclusions may include larger crystals, cavities, or clouds that can be seen without magnification. While these diamonds may have visible imperfections, they can still possess unique characteristics and be appreciated for their individuality.
By understanding these distinctions, consumers can make more informed decisions when selecting a diamond based on its clarity. It allows them to balance their preferences, budget, and desired level of clarity to find the perfect diamond that suits their needs and personal taste.
Different Types of Diamond Clarity Charts
When it comes to evaluating the clarity of diamonds, there are various charts available in the market. These charts provide detailed information about a diamond's inclusions and blemishes, allowing buyers to make informed decisions. Two of the most widely recognized and respected charts in the diamond industry are the GIA Diamond Clarity Chart and the AGS Diamond Clarity Chart.
GIA Diamond Clarity Chart
The GIA (Gemological Institute of America) Diamond Clarity Chart is considered the gold standard in the industry. It provides a comprehensive range of clarity grades, allowing buyers to accurately assess a diamond's quality. The chart includes detailed descriptions and diagrams illustrating the characteristics found in each clarity grade.
From the highest grade of Flawless (FL) to Included (I), the GIA chart covers a wide spectrum of clarity grades. Each grade is further divided into subcategories, providing buyers with a more precise understanding of a diamond's clarity characteristics. The GIA chart also takes into account the size, location, and visibility of inclusions and blemishes, ensuring a thorough evaluation.
With its extensive range of clarity grades and detailed descriptions, the GIA Diamond Clarity Chart is trusted by professionals and consumers alike. It serves as a valuable tool in assessing a diamond's clarity and determining its value.
AGS Diamond Clarity Chart
The AGS (American Gem Society) Diamond Clarity Chart is another reputable chart used for evaluating diamond clarity. While it may have some variations compared to the GIA chart, it also provides comprehensive information about a diamond's inclusions and blemishes.
What sets the AGS chart apart is its emphasis on a more detailed breakdown of clarity grades. It goes beyond the traditional clarity scale and offers additional subcategories within each grade, providing a more precise evaluation. This level of granularity allows buyers to have a better understanding of a diamond's clarity characteristics.
Similar to the GIA chart, the AGS chart considers the size, location, and visibility of inclusions and blemishes. It provides buyers with a comprehensive assessment of a diamond's clarity, enabling them to make well-informed decisions.
While both the GIA and AGS charts are highly respected in the industry, some buyers may prefer the AGS chart for its more detailed breakdown of clarity grades. It caters to those who seek a deeper understanding of a diamond's clarity characteristics.
Overall, whether you rely on the GIA Diamond Clarity Chart or the AGS Diamond Clarity Chart, both provide valuable insights into a diamond's clarity. These charts serve as essential tools in the diamond industry, helping buyers make informed decisions and ensuring the transparency and accuracy of diamond evaluations.
How to Use a Diamond Clarity Chart
Step-by-Step Guide to Using a Clarity Chart
Using a diamond clarity chart is straightforward once you understand the grading scales and guidelines. Start by examining the diamond with the naked eye to get an initial impression of its clarity. Then, use a loupe or microscope to inspect the diamond under magnification, following the guidelines on the chart.
Compare the diamond's characteristics to the descriptions and diagrams provided on the clarity chart. This will help you determine the appropriate clarity grade for the diamond and make an informed decision.
Common Mistakes to Avoid
When using a diamond clarity chart, it is important to avoid common mistakes that can lead to misinterpretation. One common mistake is overlooking the size and location of inclusions and blemishes, as these factors greatly affect a diamond's overall appearance and value.
Another mistake is solely relying on the clarity grade without considering other factors such as cut and color. Remember that a well-cut diamond with slightly lower clarity can still appear visually stunning.
Tips for Buying Diamonds Based on Clarity
Factors to Consider When Choosing a Diamond
When buying a diamond based on clarity, consider factors beyond the clarity grade itself. Determine your budget and prioritize what is most important to you, whether it's a larger carat weight, superior cut, or higher color grade. A balance between these factors will help you choose the ideal diamond that suits your preferences and budget.
How Clarity Affects Diamond Value
Clarity significantly impacts a diamond's value. Diamonds with higher clarity grades, such as VVS (Very Very Slightly Included) or IF, will generally command higher prices due to their rarity and desirability. However, it is essential to consider your personal preferences and budget when making a decision.
In conclusion, understanding diamond clarity and how to use a diamond clarity chart is essential when purchasing a diamond. It allows you to make an informed decision based on the diamond's quality and value. By following the guidelines provided in this comprehensive guide, you can confidently navigate the world of diamond clarity and find the perfect diamond for your needs.